Materials and Tools You’ll Need:
Before you begin, gather the necessary materials and tools:
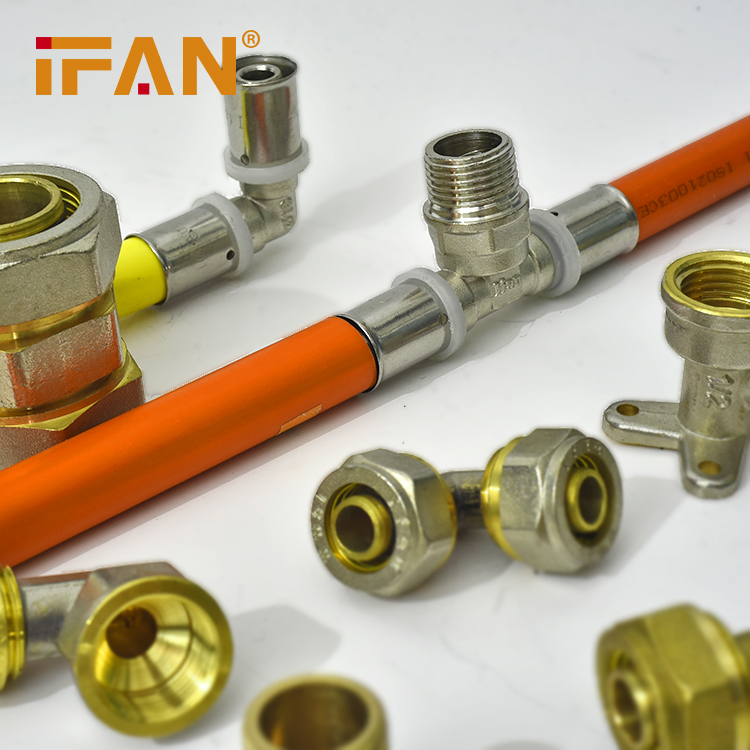
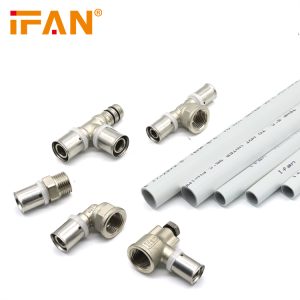
- PEX pipes: Measure and cut them to the required lengths.
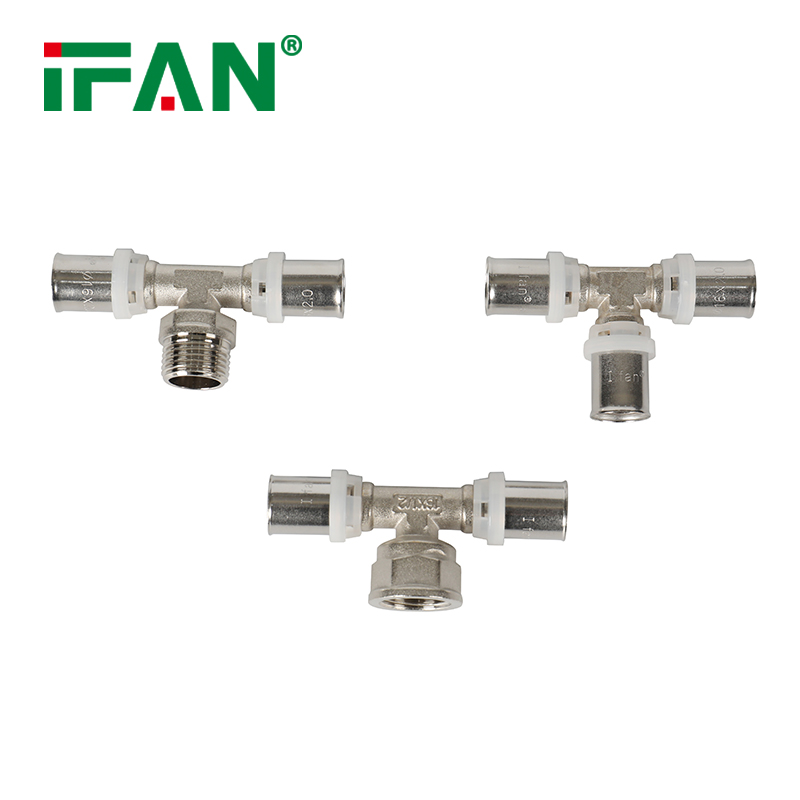
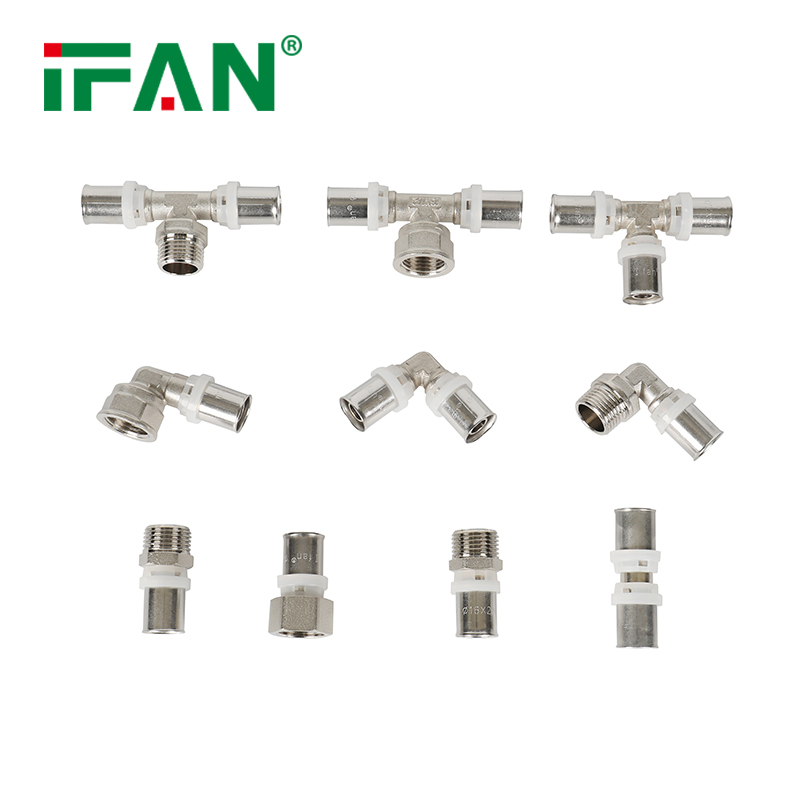
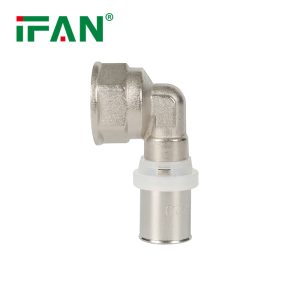
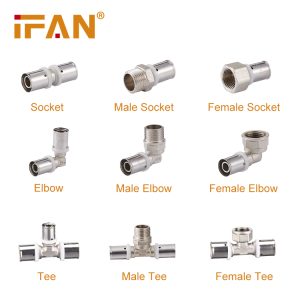
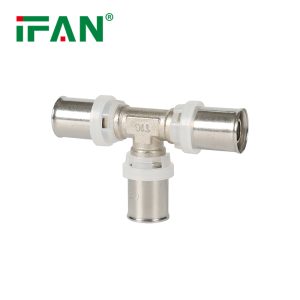
- PEX press fittings: Ensure you have the right types and sizes for your project.
- PEX press tool: This is essential for making secure connections.
- PEX sleeves (also known as copper crimp rings): They are used with the press tool to secure fittings to the pipe.
- Pipe cutter: For cleanly and accurately cutting PEX pipes.
- Deburring tool: Used to remove any rough edges from the cut pipes.
- Go/no-go gauge: Ensures the crimp rings are properly sized.
- Pipe supports and hangers: Keep the PEX pipes securely in place.
- Teflon tape: Used to seal threaded connections, if applicable.
- Adjustable wrench: For tightening threaded connections.
Step 1: Prepare Your Work Area
Ensure your work area is clean and well-lit. Clear any obstructions and make sure you have enough space to maneuver comfortably.
Step 2: Measure and Cut the PEX Pipe
Measure and mark the PEX pipes according to your installation plan. Use a pipe cutter to make clean, straight cuts at each marked point.
Step 3: Deburr the Ends
After cutting, use a deburring tool to remove any sharp edges or burrs from the ends of the PEX pipes. Smooth, clean ends are essential for a proper connection.
Step 4: Insert the Fittings
Slide a PEX sleeve (copper crimp ring) onto the pipe. Then, insert the PEX press fitting into the pipe until it reaches the proper depth. Check the manufacturer’s instructions for the correct insertion depth, as it may vary depending on the fitting type.
Step 5: Use the PEX Press Tool
Position the PEX press tool over the crimp ring, ensuring it’s aligned properly with the fitting. Squeeze the tool’s handles together to compress the crimp ring, securing the fitting in place. The tool will provide a visual and tactile indication when the connection is complete.
Step 6: Inspect the Connection
After crimping, use a go/no-go gauge to verify that the crimp ring has been properly sized and that the connection is secure. If the ring is too loose or too tight, you may need to re-crimp the fitting.
Step 7: Secure the Pipes
Use pipe supports and hangers to secure the PEX pipes in place, preventing sagging or movement that could stress the connections.
Step 8: Test the System
Before closing up the walls or covering the pipes, test the system for leaks. Turn on the water supply and inspect all connections for any signs of leakage. If any issues are detected, make the necessary corrections.
Step 9: Complete Your Installation
Once you’re confident that there are no leaks, you can proceed with any additional steps required for your specific plumbing project. This may include connecting fixtures, valves, and appliances to the PEX pipes.